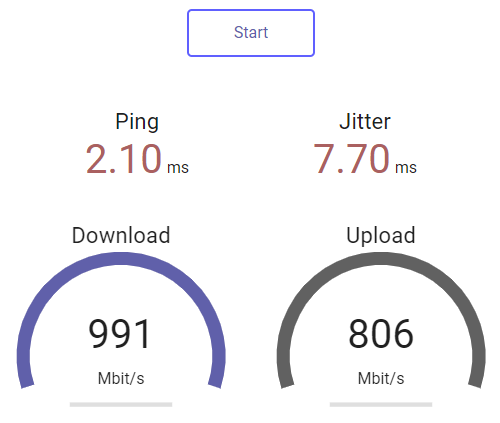
In this article, I will describe step-by-step how you can install your network speed test server on your Ubuntu server or workstation. You can publish the server to the internet or measure the speed jitter inside your network. This is a lightweight speed test that is free and open-source. It does not use Flash, Java, or WebSocket, and is implemented in JavaScript using XMLHttpRequest and Web Workers.
The source Code can be found here https://github.com/librespeed/speedtest
This instruction is intended for Ubuntu installations.
Here is a step by step instructions:
To install the necessary software and set up a speed test server, please follow these steps:
1. Install unzip by running
sudo apt install unzip
2. Install Apache by running
sudo apt install apache2
3. Install PHP by running
sudo apt install php
4. Download the installation file by running
sudo wget -P /var/www/html/ https://github.com/librespeed/speedtest/archive/refs/heads/master.zip
5. Unzip the downloaded file to the main folder by running
sudo unzip /var/www/html/master.zip -d /var/www/html/
6. Rename the extracted folder to “speed” by running
sudo mv /var/www/html/speedtest-master /var/www/html/speed
7. Update the title of the speed test page by running
sudo sed -i ‘s/LibreSpeed Example/LibreSpeed Speed Test Server/g’ /var/www/html/speed/index.html
8. Remove the text of the privacy link by running
sudo sed -i ‘s/>Privacy/Source code</g’ /var/www/html/speed/index.html
9. Remove the installation file by running
sudo rm /var/www/html/master.zip
This should complete the setup process for your speed test server.